Best TV Settings for Sports: 5 Tweaks to Make Before Kickoff
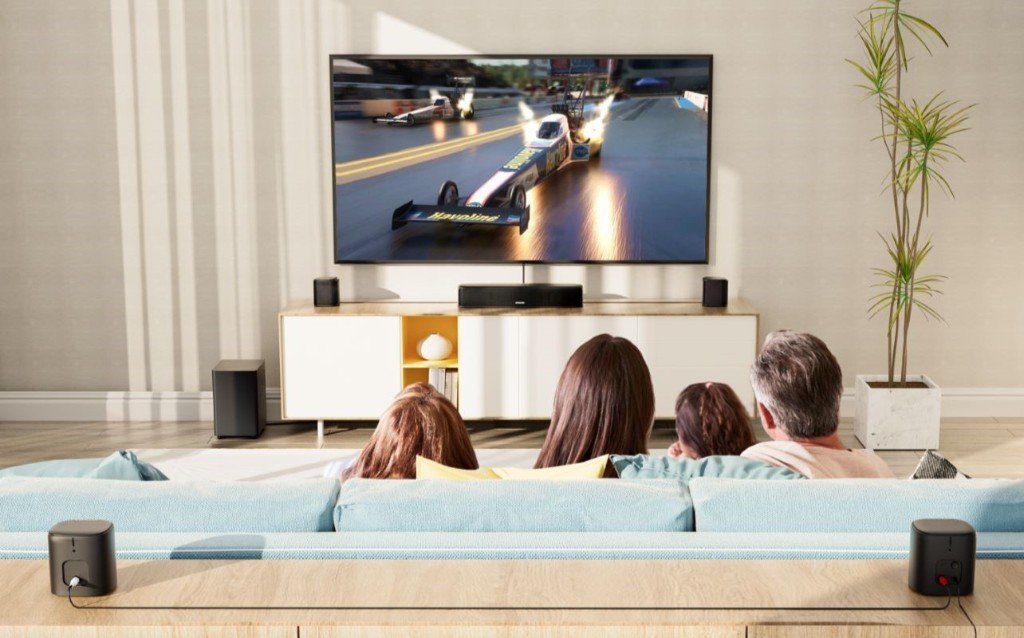
Fast-moving content like motorsport exposes poor motion settings immediately — the right tweaks make a noticeable difference before the first lap is over.
Live sport is uniquely demanding on a TV. Fast camera pans, players moving at high speed, broadcast compression artefacts, large uniform areas of colour — grass, sky, white kits — that expose poor processing instantly, and typically bright living rooms where the TV needs to compete with daylight.
The good news: many of the problems people experience with sport — blurriness during fast play, garish pitch colours, strange outlines around players — are almost entirely caused by incorrect settings rather than an inadequate TV. You don't need a new screen. You need five specific adjustments.
This guide isn't a full calibration walkthrough. It's the five things we'd change first if you handed us your remote and asked us to make the football look better before the next match.
Contents
Quick matchday checklist
| Setting | Recommended for sport | Status |
|---|---|---|
| Picture mode | Standard, Sports or brighter Cinema | Check first |
| Motion smoothing | Low — not High or Smooth | Often wrong by default |
| Sharpness | Low, typically near zero | Usually too high |
| Eco Mode | Off — especially in bright rooms | Often on by default |
| HDMI Enhanced mode | Enable (4K Enhanced / Input Plus) | Often disabled by default |
Step 1: Choose the right picture mode
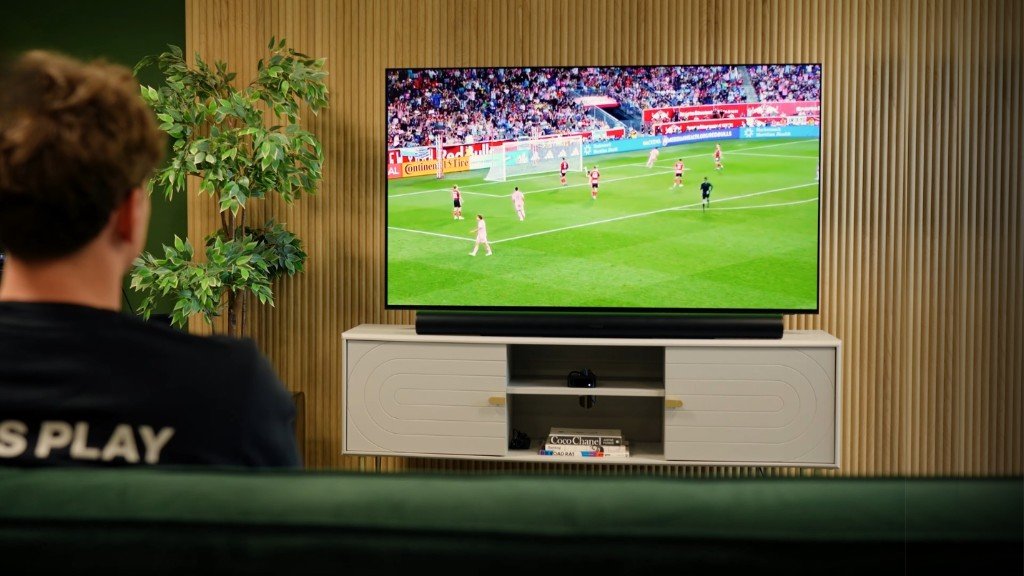
Your picture mode is the most consequential single setting. Most TVs store picture adjustments separately for each mode — and sometimes separately for each HDMI input or streaming service. That means if you get your motion smoothing and sharpness exactly right, then accidentally switch mode, you've undone all your work.
Pick your mode first, then make all other adjustments from that starting point.
Sports Mode is the obvious starting choice — and it's often reasonable. But it can also be overdone: overly saturated grass, exaggerated colour processing, and motion settings pushed too far. It's worth quickly flicking between a few modes before settling on one:
- Standard / Normal — usually a safe, balanced starting point
- Sports — can be good; check whether it looks natural or overdone
- Cinema / Movie — sometimes unexpectedly good for sport in bright rooms
- Filmmaker Mode — usually too accurate for sport, but worth a quick look
How to judge if your picture mode looks right
Use three visual references: the pitch grass should look lively but believable — not neon. Skin tones should look natural, not orange or over-red. White shirts, pitch markings and score graphics should be bright but still show clear detail — not washed out.
For sport more than any other content, there's room to push brightness and colour slightly beyond what you'd use for films. The goal is clear, easy-to-follow imagery — not a precisely graded image.
Step 2: Control motion smoothing — carefully
Motion smoothing (sometimes called motion interpolation, motion compensation or motion enhancement, depending on brand) tries to make movement look smoother by generating additional frames between the real ones the broadcast contains.
What it's called on your TV:
- Sony: MotionFlow
- LG: TruMotion
- Samsung: Picture Clarity / Auto Motion Plus
- Hisense: Motion Smoothing
- Panasonic: Intelligent Frame Creation (IFC)
For films and dramas, we'd leave this off or near-zero — it creates the "soap opera effect" that makes everything look shot on video. For sport, the advice is more nuanced.
A small amount of motion smoothing can genuinely help with live sport. Fast camera pans during football, the ball tracking during tennis or cricket, F1 onboard cameras — a low level of motion enhancement can make these easier to follow.
The key word is small. Too much causes visible artefacts: players appear detached from the pitch, there are halos around fast-moving objects, and the overall image looks processed and unnatural.
Recommended starting points for sport:
| Setting | Recommended for sport | For films |
|---|---|---|
| De-judder | 1–3 (low) | Off / 0 |
| De-blur | 1–3 (low) | Off / 0 |
| Overall motion | Low or Custom | Off |
Set it low, watch a wide camera pan during football or cricket, and dial back if you see trails or outlines. The right level is the highest setting where these artefacts are absent.
Step 3: Turn sharpness down (counterintuitively)
The instinct when sport looks soft or blurry is to increase the sharpness setting. This is almost always the wrong move.
On modern TVs, the sharpness control doesn't reveal detail that the camera captured. It adds artificial edge enhancement to the image — drawing extra-bright outlines around objects to create the impression of detail.
With sport, this becomes immediately visible. Players develop bright outlines that make them look like cartoons. Shirt numbers appear glowing. Pitch markings develop halos. The ball during close-ups looks over-processed.
Quick sharpness test
Pause on a player close-up or a shirt number. If you can see bright outlines or hard edges that look like they've been drawn on, sharpness is too high. The correct level for most modern TVs is between 0 and 20 on a 0–100 scale — often much lower than the factory default.
Additional processing settings to check for similar over-enhancement:
- Edge Enhancement / Detail Enhancer — turn off or minimum
- Clear Motion / Resolution Enhancer — check if this is adding artefacts
- Super Resolution — generally off for live broadcast content
Step 4: Disable Eco Mode
Many TVs ship with energy-saving features enabled: Eco Mode, Auto Brightness, Light Sensor, Ambient Light Detection. Each of these reduces the TV's backlight output based on ambient conditions or content.
For sport — particularly daytime sport in a bright living room — this can significantly hurt picture quality. The screen dims precisely when you need brightness most: during bright outdoor stadium shots, wide daylight scenes, or snow and ice sports.
Where to find these settings:
- Sony: Settings → Eco → Energy saving mode → Off
- LG: Settings → General → Energy Saving → Off
- Samsung: Settings → General → Eco Solution → Disable all
- Hisense: Settings → Picture → Advanced → Eco Mode → Off
Once disabled, you can set brightness manually to a level that suits your room — typically higher in the daytime, lower in the evening. Don't rely on automatic brightness for sport.
Step 5: Enable Enhanced HDMI mode
If you're watching sport via a 4K set-top box, games console, or HDMI streaming device, your TV's HDMI port needs to be set to "Enhanced" or "4K" mode to receive the full signal. By default, most TVs ship with HDMI inputs set to "Standard" — which limits the bandwidth available and can prevent HDR signals from passing through correctly.
What it's called on your TV:
- Sony: HDMI signal format → Enhanced
- LG: HDMI Deep Colour → On
- Samsung: Input Signal Plus → On
- Hisense: HDMI 2.0 Enhanced → On
You only need to change this for the specific HDMI port you're using for sport. If you notice the picture looks incorrect after enabling it (some older devices struggle), you can revert per-port without affecting other inputs.
These five adjustments genuinely make a difference on virtually every TV we've tested. They take under ten minutes and require no specialist knowledge. If sport is important to you, there's no reason not to do this before the next big match.