Ceiling Speaker Wiring Guide: Sonos & WiiM Configurations Explained
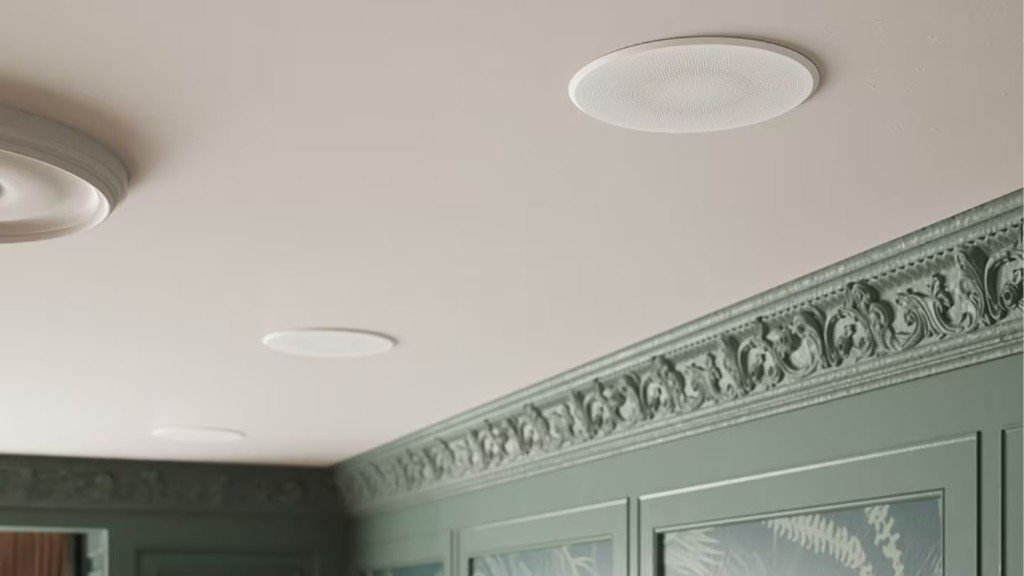
Ceiling speakers installed flush with the plasterwork — completely invisible from the room and capable of filling a space with high-quality audio.
Ceiling speakers are one of the most satisfying home audio upgrades you can make — invisible from the room, unobtrusive, and capable of filling a space with genuinely high-quality audio when paired with the right amplifier.
The wiring itself isn't complex, but it is unforgiving. Once speakers are installed in the ceiling and cables are routed through walls, unpicking an error is a significant undertaking. Getting it right before you start pulling cable is far more important than the installation speed.
This guide covers the most common ceiling speaker configurations for both Sonos Amp and WiiM Amp setups — from a single stereo pair in a bathroom to a six-speaker open-plan installation — with clear, step-by-step instructions for each.
Contents
Before you start: decisions to make first
Make all of these decisions before running a single metre of cable. Changing your mind after cables are in the wall is painful.
Cable specification
| Cable gauge | Maximum run length | When to use |
|---|---|---|
| 16 AWG / 1.5mm² | Up to 32 metres | Most indoor installations — kitchen, bathroom, bedroom |
| 14 AWG / 2.5mm² | Over 32 metres | Long runs, large open-plan spaces, whole-home systems |
| Weatherproof / burial | Any length | Any outdoor speaker installation — required, not optional |
Equipment decisions before you wire
- One amp per independently controlled zone. A kitchen and a living room playing different music simultaneously each need their own amp or amp channel.
- Speaker switch — only required if you want to run two pairs of speakers from a single amp with independent control per pair.
- Fire hoods — one per speaker, always, if there's a room above.
- ✓ Sonos Amp + 2× In-Ceiling Speakers (1 pair) — £999 — free 6-year warranty
- ✓ Sonos Amp + 4× In-Ceiling Speakers (2 pairs) — £1,448 — covers kitchen + dining room
- ✓ Sonos Amp + 6× In-Ceiling Speakers (3 pairs) — £1,849 — large open-plan spaces
Configuration 1 — Sonos: 1 stereo pair (2 mono ceiling speakers)
This is the most straightforward ceiling speaker installation possible: one speaker for the left channel, one for the right, each with its own direct cable run back to the amplifier. You get proper stereo separation, even sound coverage across the room, and a clean, uncomplicated installation.
For the majority of single-room installations — a kitchen, home office, bathroom or bedroom — this is all you need. More speakers rarely improve the result in a single average-sized room.
How to wire it
- Connect the Sonos Amp to mains power
- Run a 2-core speaker cable from the amp's left output directly to the left ceiling speaker
- Run a second 2-core cable from the amp's right output directly to the right ceiling speaker
- At every connection, maintain consistent polarity: red to positive (+), black to negative (−)
- Reverse polarity cancels bass and makes the stereo image collapse — double-check before closing the ceiling
Configuration 2 — Sonos: 2 stereo pairs (4 mono ceiling speakers)
Four speakers, each with its own dedicated cable run back to the amp — two left speakers and two right speakers. This "home run" approach (rather than daisy-chaining) gives you cleaner connections, better fault isolation, and more even volume distribution across a larger space without requiring a second amplifier.
Both left-channel speakers connect to the same left output terminals on the amp. Both right-channel speakers connect to the same right output terminals. This wires the speakers in parallel, which halves the impedance. Check that your amp supports the resulting load before proceeding — see the impedance section at the end of this guide.
How to wire it
- Connect the amp to mains power
- Run a 2-core cable from the amp's left output to your first left speaker
- Run a second 2-core cable from the amp's left output to your second left speaker — both cables terminate at the same left output terminals
- Repeat for the right channel: two separate cables from the right output, one to each right speaker
- Maintain consistent polarity throughout: red to positive, black to negative at every point
Configuration 3 — Sonos: 3 stereo pairs (6 mono speakers)
Six speakers driven by a single Sonos Amp — three per channel, all wired in parallel via dedicated home runs back to the amplifier. This configuration is specifically permitted by Sonos for use with their own in-ceiling speakers, which are rated at 8Ω and designed to maintain an acceptable load when paralleled.
Do not attempt this configuration with third-party 4Ω ceiling speakers — the resulting 1.3Ω load will damage the amp. Confirm your speaker's impedance rating before proceeding.
How to wire it
- Connect the amp to mains power
- Run three separate 2-core cables from the amp's left output, one to each left-channel speaker position
- Repeat for the right channel: three separate cables from the right output, one per right speaker
- All six cables terminate at the amp output terminals — three at left, three at right
- Verify polarity at every speaker before closing the ceiling — a polarity error in one speaker causes destructive interference
Configuration 4 — Single stereo ceiling speaker (one speaker, both channels)
A single stereo ceiling speaker contains two voice coils in one enclosure — it receives both left and right channels from the amplifier and reproduces them from a single point. The stereo separation is limited (both channels emerge from the same location), but the installation is simple and suited to small rooms where fitting two speakers isn't practical.
This is the preferred solution for most bathroom installations, where a single speaker positioned centrally above the main bathing area covers the room well.
How to wire it
- Connect the amp to mains power
- Run a single 4-core speaker cable (or two separate 2-core cables) from the amp to the speaker
- Connect the left amp output to the speaker's left input terminals
- Connect the right amp output to the speaker's right input terminals
- Maintain polarity on each channel independently
WiiM configurations
WiiM Config 1: 1 stereo pair (2 mono speakers)
Identical wiring to the Sonos Configuration 1 above. Run one 2-core cable from the WiiM Amp's left output to the left speaker, one from the right output to the right speaker. Maintain consistent polarity throughout. This is the safest and most straightforward WiiM configuration and presents no impedance concerns with 8Ω speakers.
WiiM Config 2: 2 stereo pairs (4 mono speakers)
Identical wiring approach to Sonos Configuration 2, but check impedance carefully. Four 8Ω speakers wired as two parallel pairs will present a 4Ω load — the minimum rated by most WiiM Amp models. Four 4Ω speakers in the same configuration presents a 2Ω load, which is below WiiM's minimum specification and will cause damage or shutdown protection to trigger.
Impedance: the one thing most people get wrong
Impedance is the single most commonly misunderstood aspect of ceiling speaker installations. Getting it wrong either damages your amplifier or trips its protection circuit repeatedly.
The rule is simple: when you wire speakers in parallel, the total impedance drops. Two 8Ω speakers in parallel = 4Ω. Three 8Ω speakers in parallel = 2.67Ω. Four 8Ω speakers in parallel = 2Ω. Each of these loads must remain above your amplifier's minimum rated impedance — check your amp's specification sheet.
| Number of speakers | Speaker impedance | Total load (parallel) | Safe for Sonos Amp? |
|---|---|---|---|
| 2 (1 pair) | 8Ω | 4Ω per channel | ✓ Yes |
| 4 (2 pairs) | 8Ω | 4Ω per channel | ✓ Yes — with 8Ω speakers |
| 6 (3 pairs) | 8Ω | 2.67Ω per channel | ✓ Sonos in-ceiling speakers only |
| 2 (1 pair) | 4Ω | 2Ω per channel | ✗ No — too low |
| 4 (2 pairs) | 4Ω | 2Ω per channel | ✗ No — too low |
If you're uncertain about the impedance of your chosen speakers, contact the Smart Home Sounds team before ordering. They'll confirm compatibility with your planned configuration before you commit to the installation.
Wiring ceiling speakers correctly the first time takes twenty minutes longer than guessing and hoping. It saves hours of remedial work and avoids the cost of replacing equipment damaged by an incorrect load. Plan the wiring, confirm impedance compatibility, and the installation itself is entirely straightforward.